Celebration

Christmas Reindeer Cupcakes

P1070872

Christmas is fast approaching and I can’t quite keep up. Seriously I mean wasn’t it September two days ago? I haven’t even had time to get excited about it which is strange seeing as Santa Season is my favourite time of year, so on the 1st December I jumped into my kitchen to get a start on my festive baking. Let the fun commence.

I’ve been making these Rudolph Cupcakes for the last few years now and they never fail to please a crowd, adults almost as much as children. They look really impressive but making them is super simple with just a few steps to follow.

This slideshow requires JavaScript.


Makes 12 Reindeers

Prep time: 1 hour

Baking time: 25 minutes


175g unsalted butter

175g soft brown sugar

2 large eggs

175g self-raising flour

70g coco powder

1 tsp baking powder

1 tsp vanilla extract

250g dark chocolate

50g butter

235ml double cream

Smarties/M&Ms (red and brown)

Salted pretzels

Mini Jaffa Cakes


Preheat the oven to 170C, 325F, Gas 3.

Put all your dry ingredients into a free standing mixer with a batter paddle attachment and combine on a low speed until you have a sandy texture.

Whisk the eggs and vanilla together in a jug, then slowly poor about half into the dry mixture and beat on a medium speed. Scrape the sides of the bowl down and add the remaining wet mix. Continue mixing until all smooth.

Spoon the mixture into cupcake cases and bake for 20-25 minutes or until a skewer inserted comes out clean. Leave to cool on a wire rack.

For the ganache

Chop the chocolate into small pieces and leave in a medium sized mixing bowl

Gently heat double cream and butter into a pan until it almost reaches a boil then pour this over the chocolate.

Stir until the chocolate is melted and smooth.

Cool until thick and spreadable.

Assemble your reindeers

Using a palette knife spread a generous amount of chocolate ganache onto each cupcake and smooth out.

Place a mini Jaffa Cake in the centre of the cupcake followed by a brown smartie (stuck down with a little ganache) onto the centre of the Jaffa Cake. Remember to use a red smartie for one cupcake to make your Rudolph.

Place two pretzels above your Jaffa Cakes for the antlers.

For the eyes mix together a small icing sugar paste and transfer into a piping bag. Pipe the eyes below the antlers and leave them to dry. When the white icing is tacky and almost dry, dip a cocktail stick into some black food colouring or the remaining chocolate ganache and dot onto the whites to complete the look.
Happy 4th July Ice Lollies

P1100873

P1100875

image

image

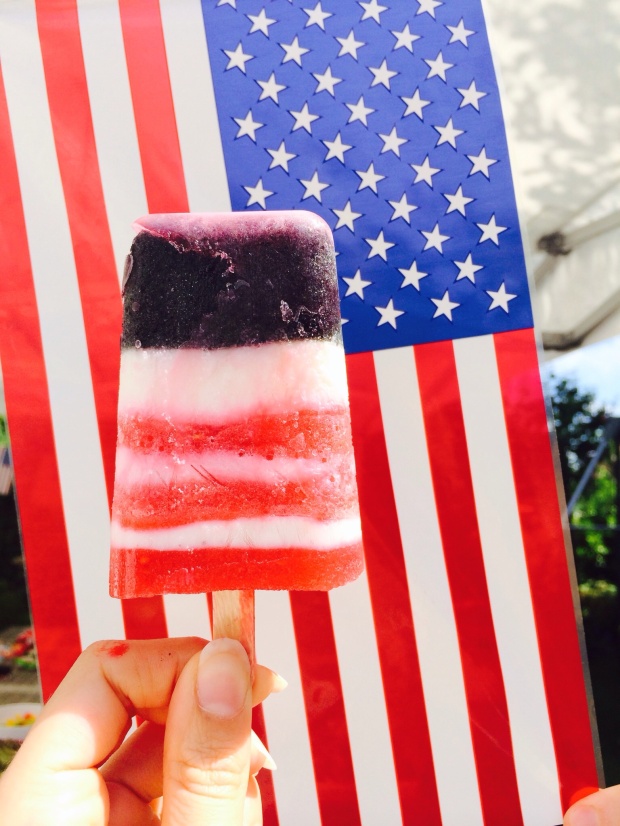
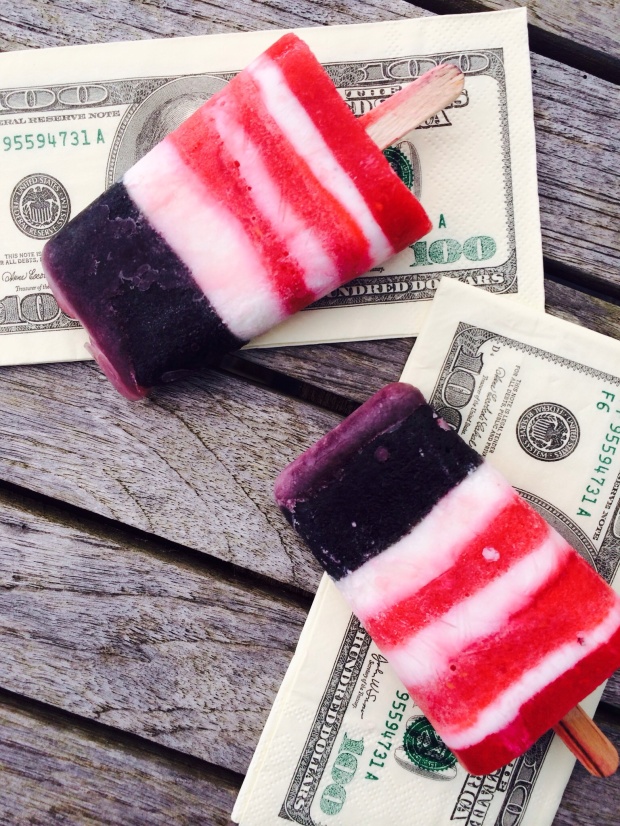
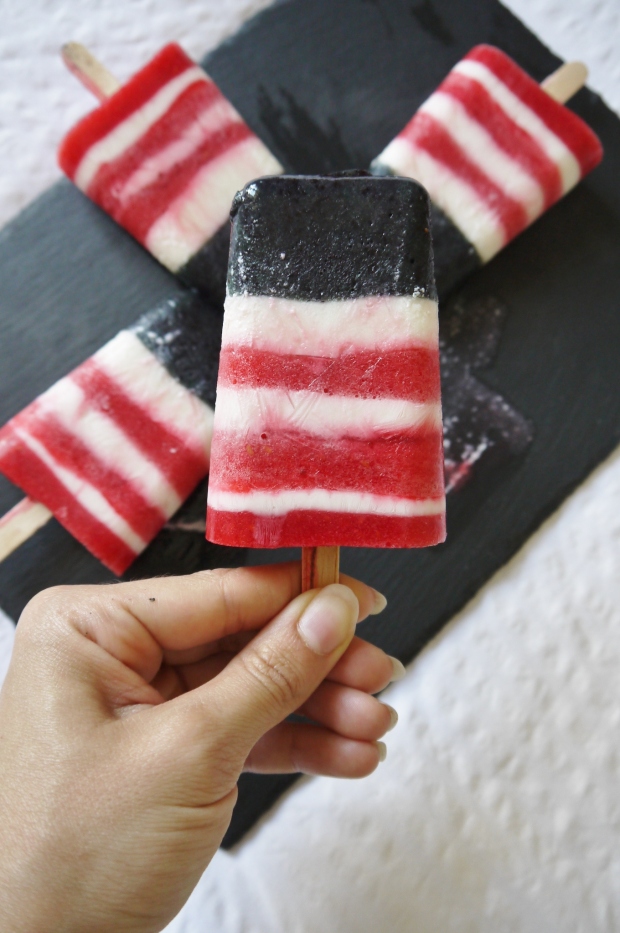
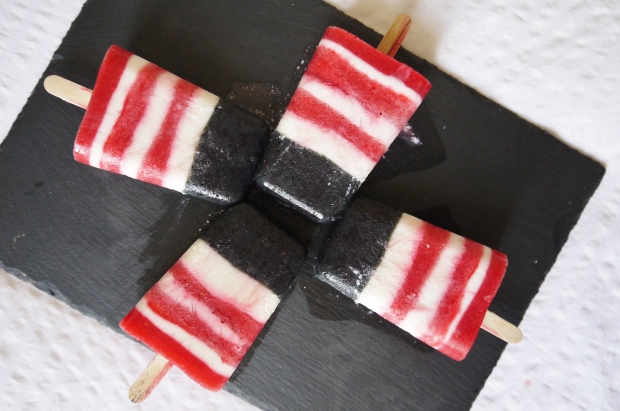
You don’t have to be American to flaunt a little Americana spirit; I personally love the patriotic nature of the 4th of July holiday and wish we did something similar in the UK. So with this in mind and the fantastic heat wave currently melting the entire nation, these 4th July inspired lollypops make the perfect celebratory snack. There may also be a little slip of vodka in them too. What? It is a celebration isn’t it?


Makes 10 Lollies

Preparation time: 30 minutes


100g raspberries

100g blueberries

100g vanilla Greek Yoghurt

1 shot of vodka

10 Lolly Pop Moulds

Lolly Pop Sticks


Using a blender, blitz the raspberries and blueberries separately so they are pureed as much as they can be.

Pour each puree and the yogurt into separate jugs and add a little vodka to all so they are pourable consistency. (You want these thin so you can create the perfect lines). Top up with water if required.

Start layering with a little of the blueberry at the bottom of each ice lolly mould. You want more blueberry at the bottom as this will be the top of your lollies. Pop these in the fridge for an hour to set.

Start your stripes by pouring in a layer of Greek Yoghurt, then pop back in the freezer to set for another hour. At this stage cover the mould with baking parchment and pierce your lolly stick through.

Once the first layer is frozen add your first layer of raspberry puree. Pop this in the freezer and continue your white and red layers until the moulds are full. Freeze the lollies until completely solid.

When you are ready to eat them, fill a sink with hot water and dunk the moulds in half way for 30 seconds or longer if they don’t budge. Gently pull the lollies out and when they are ready they should slide easily from the mould.

How to make Baby Boy Cupcakes

P1100734

P1100729

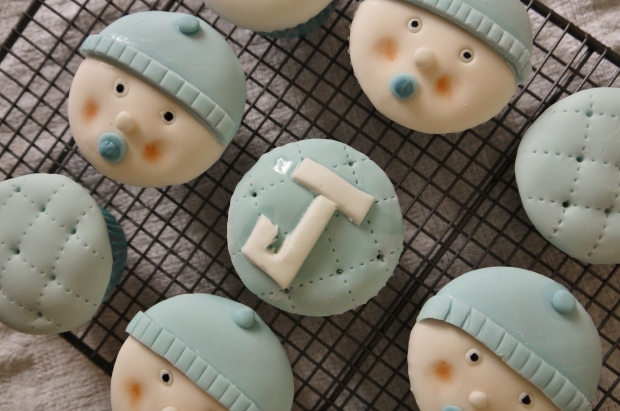
In my world, when a new baby enters the world, one of the many gifts it must be showered with is cupcakes. Cakes are the food of celebrations and a new baby is definitely something to celebrate.

Of course, the new born won’t actually be involved in the consumption of their gift, but the well deserving parents will be, and to be honest the cakes are really just for them.

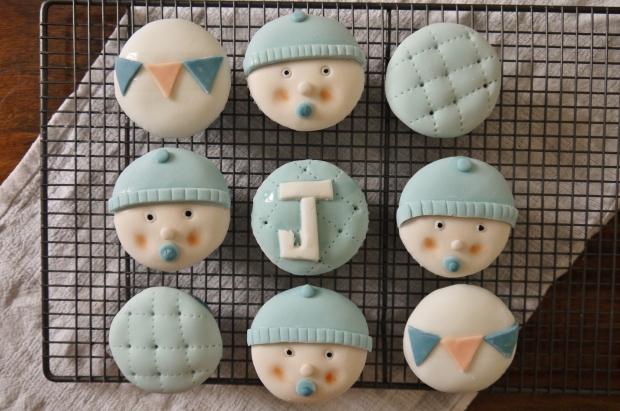
I’m no stranger to making New Baby Cupcakes as I had made some very similar to these last year for my Nephew, however as the well-known saying suggests “practice makes perfect” and as I get more confident in my cake decorating I’m really happy with how these turned out. I didn’t want them to be exactly the same so added a few new techniques into the mix to give them some difference.

In my previous Baby Boy Cupcakes post, I shared my top tips and advice on working with fondant icing. In this post I will be giving a detailed step-by-step guide in how to create the design.

So let’s get going…


Makes 12 cupcake decorations

Decorating time: 1 hour


200g white royal icing

Icing sugar for dusting

Sugarflair paste colours;

Navy A111

Paprika A118

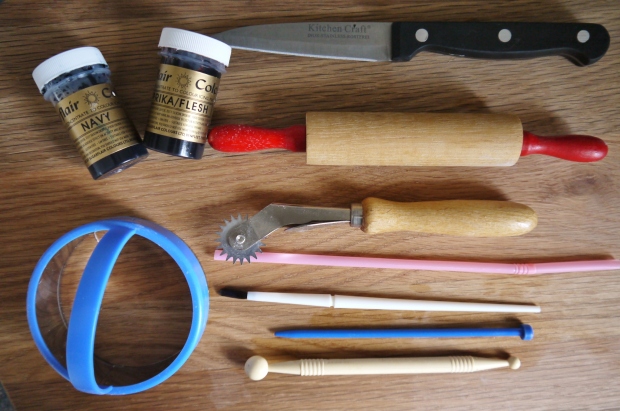
Decorating Tools

Rolling pin

8cm cookie cutter

Embossing roller

Plastic straw


P1100745

P1100749

Preparation, steady hands and patience are my three big musts when working with fondant icing, so with this always in mind I will prepare each piece of decoration in advance before I begin to assemble. I find this helps eliminate any mistakes and I feel completely in control of the task ahead.

For the skin: to make a pale nude colour you literally need no more than a pin head of the Paprika dye. Use too much and you will be making baby Umpa Lumpas, so don’t dive in with the colour, use tiny bits at a time and build it up. Cut roughly half of your white fondant (leave a little white) and knead the colour in so it is evenly mixed then dust your surface with a little icing sugar and roll it out so it 1-2mm thick. For the noses use any excess icing to shape 12 small pieces into balls.

Using your cookie cutter, cut out 12 circles leave place them to one side on an icing sugar dusted surface and out of direct sunlight.

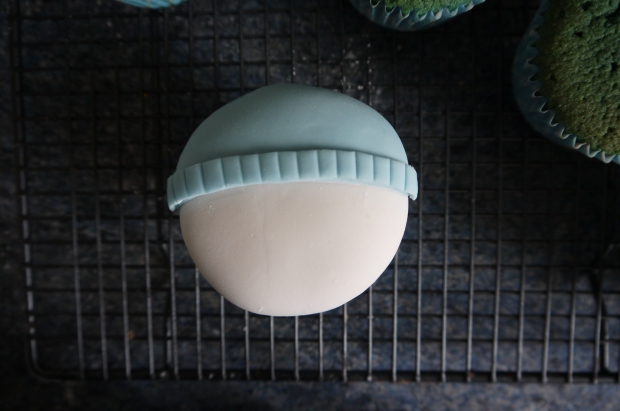
 For the hat: Take the other half of white fondant and add little touch of navy dye. Knead the colour in, adding more if required until you have a baby blue colour.

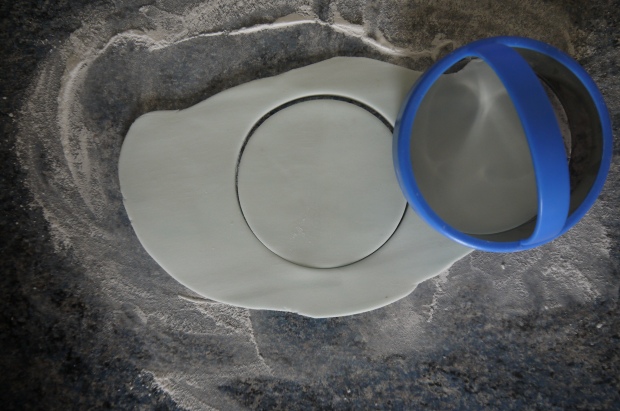
Using your cookie cutter, cut out 6 circles as you did with the skin, then cut each of those in half. Trim 1cm off the bottom of the circle to make the rim of the hat. Using a knife make little indent lines across to give it some detail.

With your excess icing, shape 12 small pieces into balls for your hat bobbles, then another 12 slightly large balls for your dummies.

For the dummies: Flatten the shaped balls into discs. Take a small amount of your blue icing and add a touch more Navy dye to make it a darker blue. Knead the colour in then shape into smaller balls to make the dummy handles.

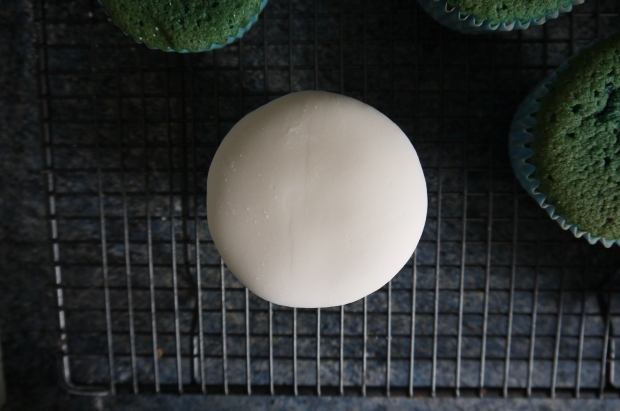
To assemble: Begin my icing each of your cupcakes with a thin layer of buttercream. Try to avoid the sides as you do not want any buttercream spilling over when you lay on your fondant. Next lay your nude circles on top of the cupcakes and smooth them round to the edges of the cupcake cases.

P1100697

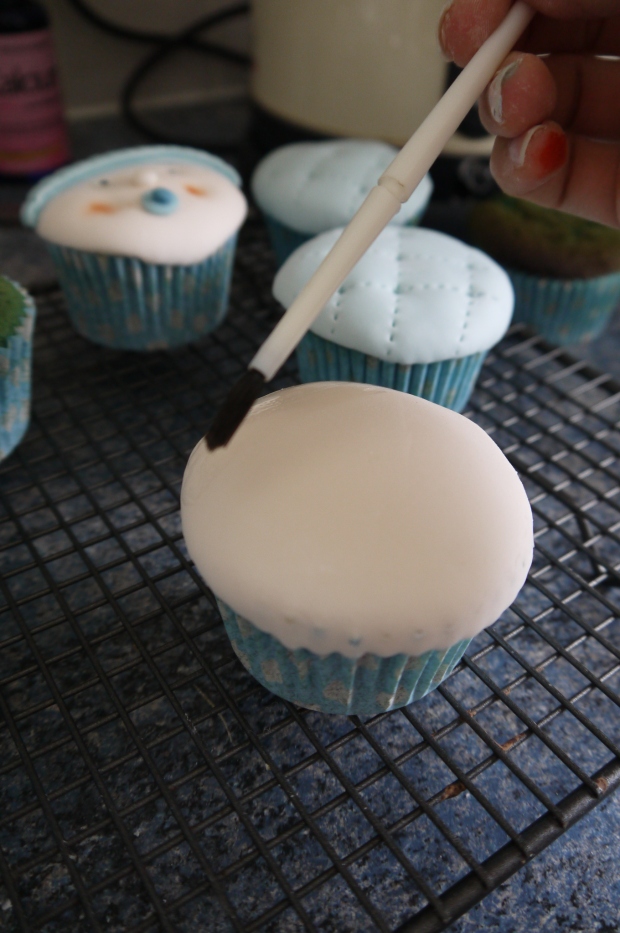
Using a small brush (or your finger) dab some water to the top of your circles to stick on your hats, then dab some more onto the hat to stick on the hat rims and bobbles.

P1100714

P1100701

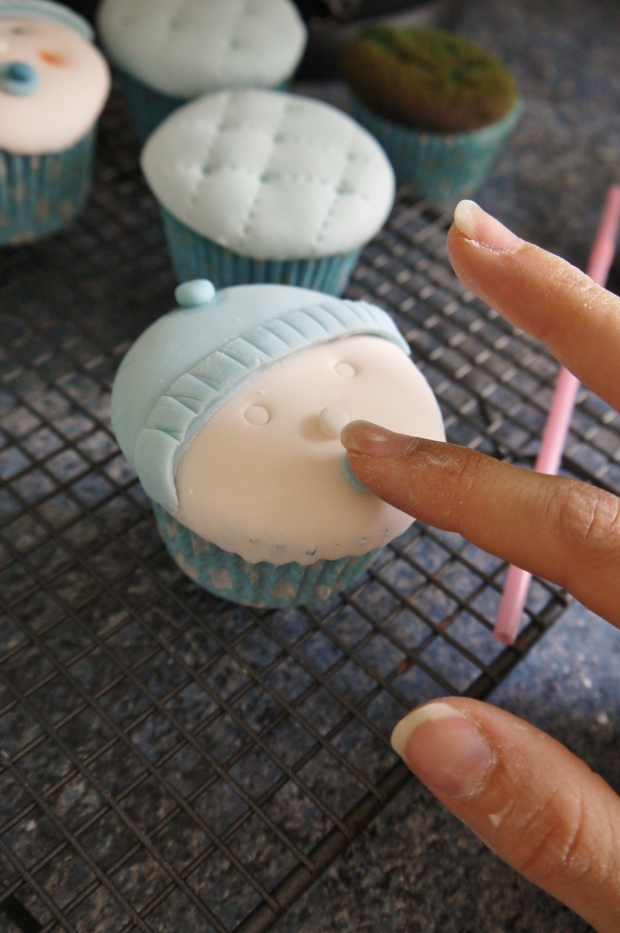
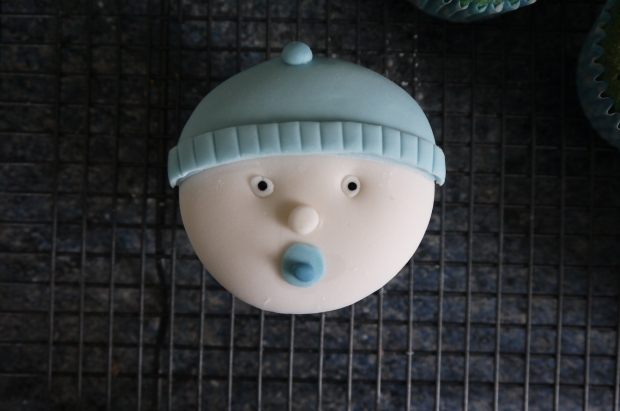
To make your eyes, gently push a small straw into the icing to make indents then push a small piece of white fondant in to each hole. Add colour by dabbing some navy dye onto the white fondant with the end of a paint brush (or a toothpick). Take your small nude balls and stick them just under the eyes for the nose, then your blue discs to stick just underneath for the dummy. The darker blue dummy handle balls can then be stuck on top to give more detail.

P1100721

P1100709

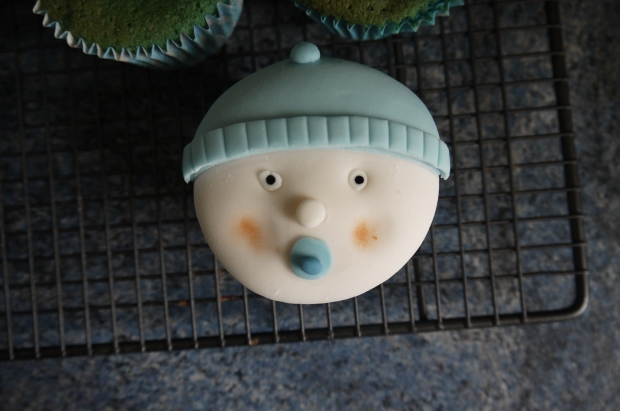
For the final touch, give each little baby rosy cheeks by dipping your little finger into the paprika dye. Remove as much excess as you can by dabbing it onto some left over icing or kitchen roll, then when there is barely anything left on your finger gently rub the dye onto cakes and make them blush.

P1100712

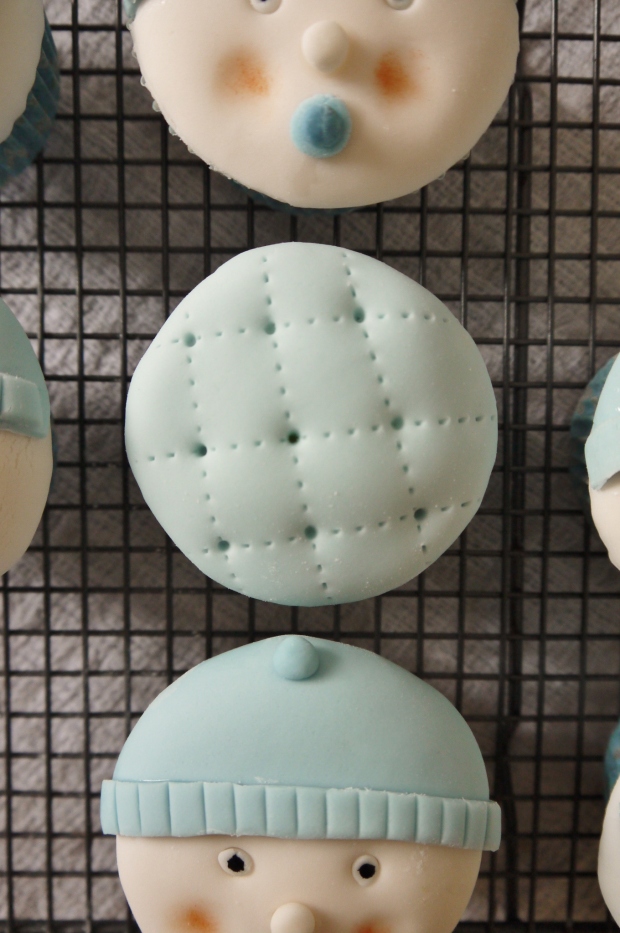
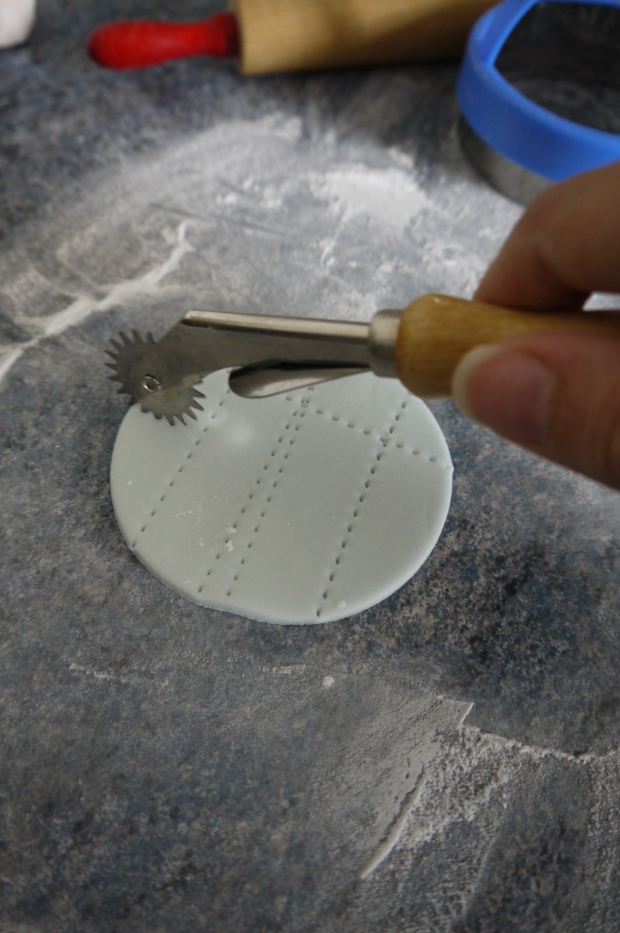
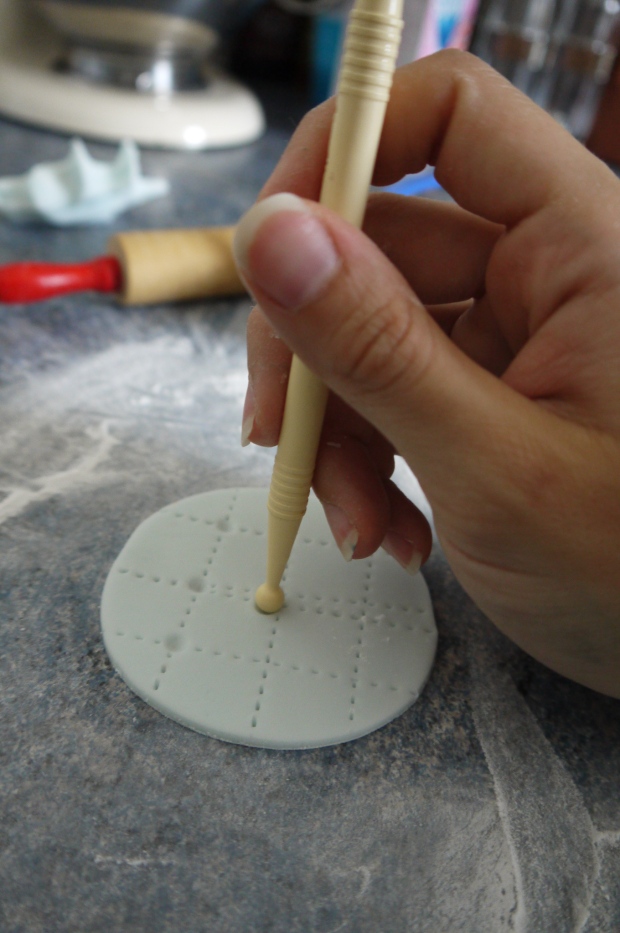
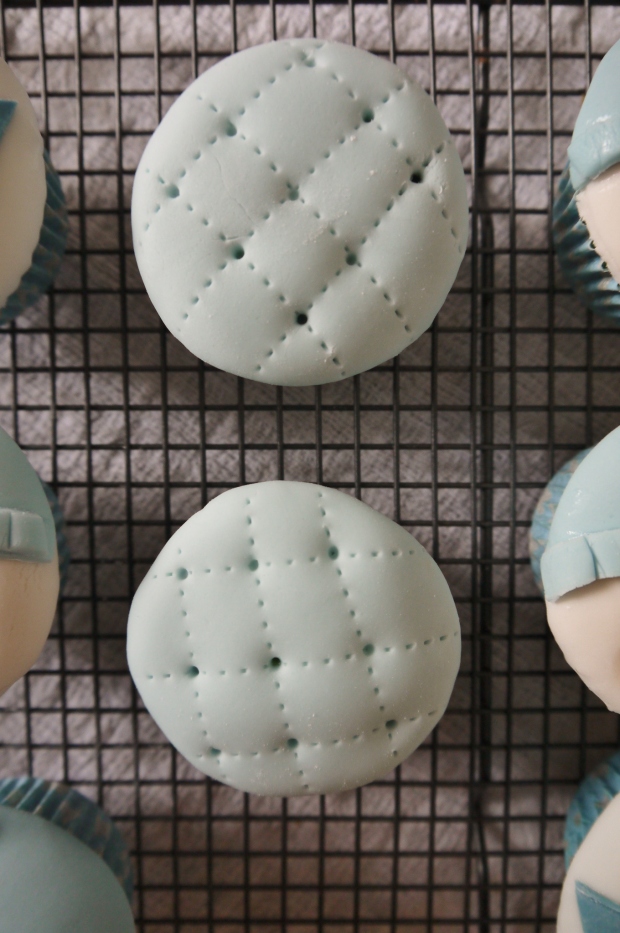
Quilting: Roll out all the excess blue fondant to 1-2mm thickness then cut out into circles. Using your embossing roller, lightly indent the circle with 3 lines horizontally and then again vertically. Lay the fondant onto the cupcake and smooth round, then using an indenting tool, lightly indent the cake where each of the lines meet.

P1100739

P1100742

P1100743

P1100748

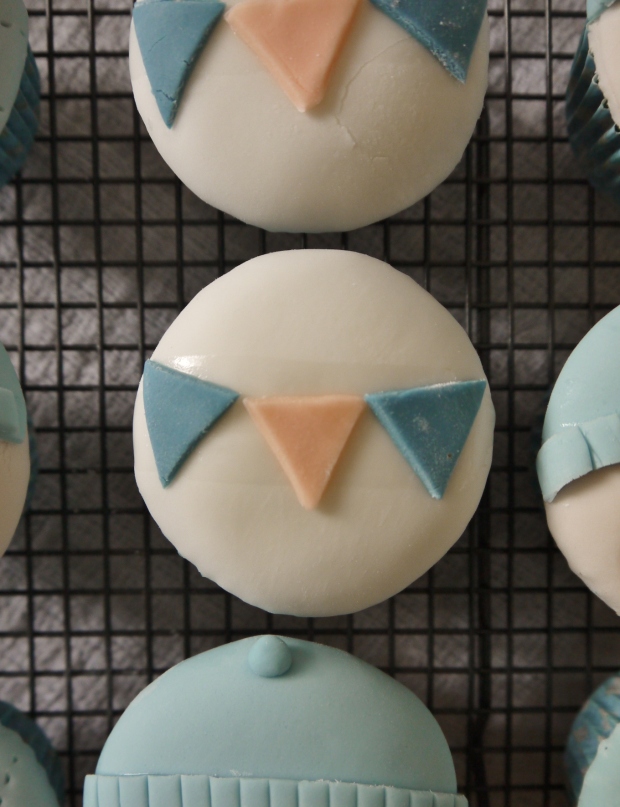
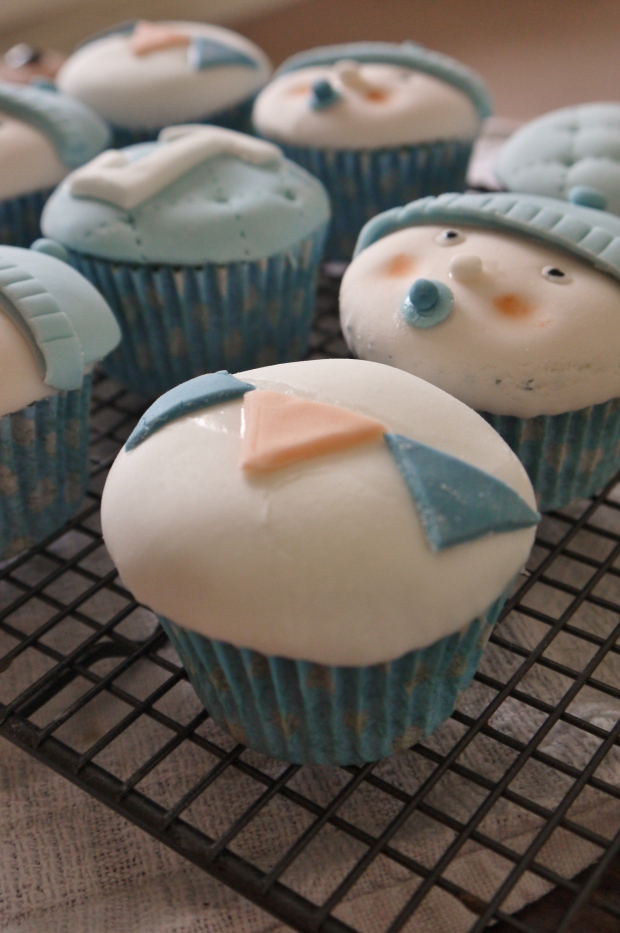
Bunting: Use scraps of the nude and blue fondant and cut out into triangles. Place the triangles in a ‘U’ formation so they resemble hanging bunting.

P1100750

P1100735


Shop this post

Embossing Roller ToolIn the Wilton Icing tool set from Lakeland

Cookie CutterLakeland

Navy and Paprika DyeSugarflair Spectral Dye