Celebration

How to: Buttercream Ruffle Icing Tutorial

P1100579

P1100517

Ask me to bake you a cake and chances are unless you’ve specified otherwise, it will be covered head to toe in softly whipped buttercream. Whether it be ombré, swirls, roses or ruffles, there are so many different techniques to choose from. Not so long ago the hot trend was ombré, but today it seems the baking world is getting more and more excited by ruffles. In my opinion this technique is one of the best, purely because you can create almost exactly the same effect with buttercream as achieved through fondant. And we all know that given the choice buttercream is always the preferred of all the icing.

If you read my blog you will know that this year, one of my baking objectives was to step my cake decoration up a notch. Since making this declaration several Ombré cakes have left my kitchen, and I must say I’ve been pretty happy with the finished result. So when it came to choosing a design for my Nephews 1st Birthday Cake I decided I would embark on a new challenge. Ruffles.

Ruffles are such a beautiful design to create and thanks to their, well, ‘ruffley’ nature little mistakes can be easily forgiven. It may look daunting but as long as you have the right equipment, some patience and a steady hand then replicating couldn’t be easier.

Below is my quick guide on how to create the ruffle buttercream effect. This post is following-on from my 6-Layer Rainbow Cake. The buttercream is therefore coloured to the Rainbow design, however my guide will simply instruct you through the technique so you can recreate this in any colour of your choosing.


What do you need;

Wilton Tip 104

Disposable piping bags

Off-set palette knife

Decorating Turntable

Baking Parchment

Wooden cocktail stick

600g Butter

1000g Icing Sugar


Whip together all your buttercream in a large mixer to ensure you have the same medium consistency throughout. You want the icing smooth but stiff enough so it won’t drop too much.

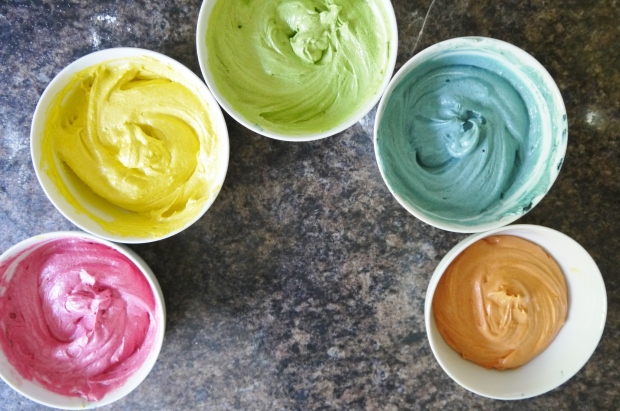
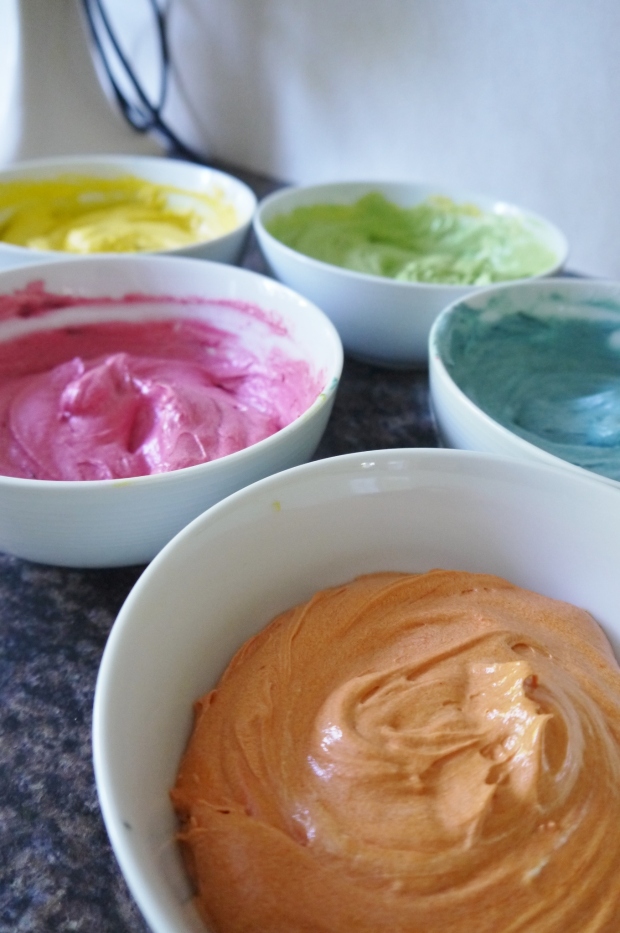
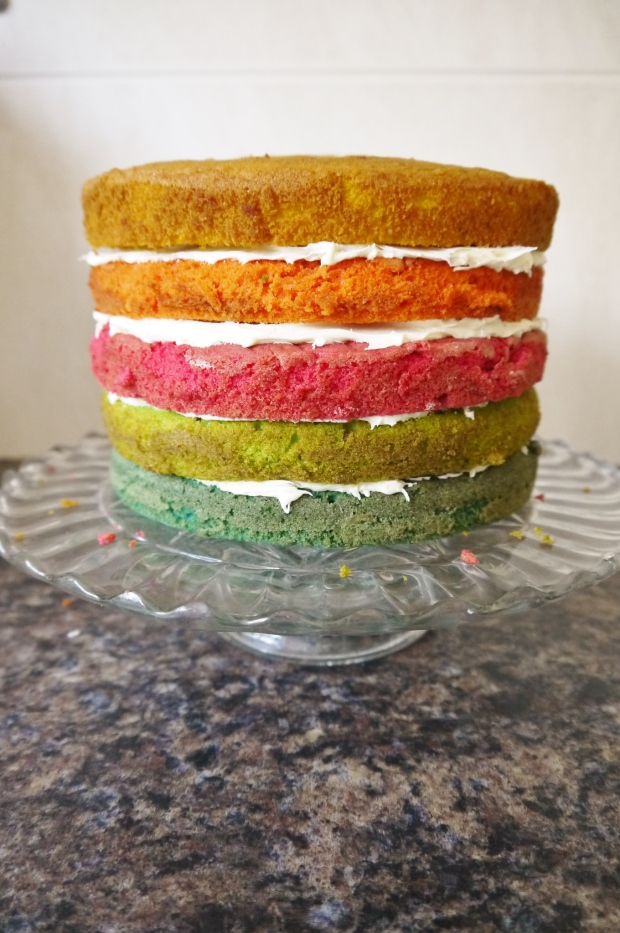
Colour the buttercream dependant on your design. I split mine equally into 7 bowls for the crumb coating and each rainbow colour. Each of the colours was mixed in by hand.

P1100513

P1100519

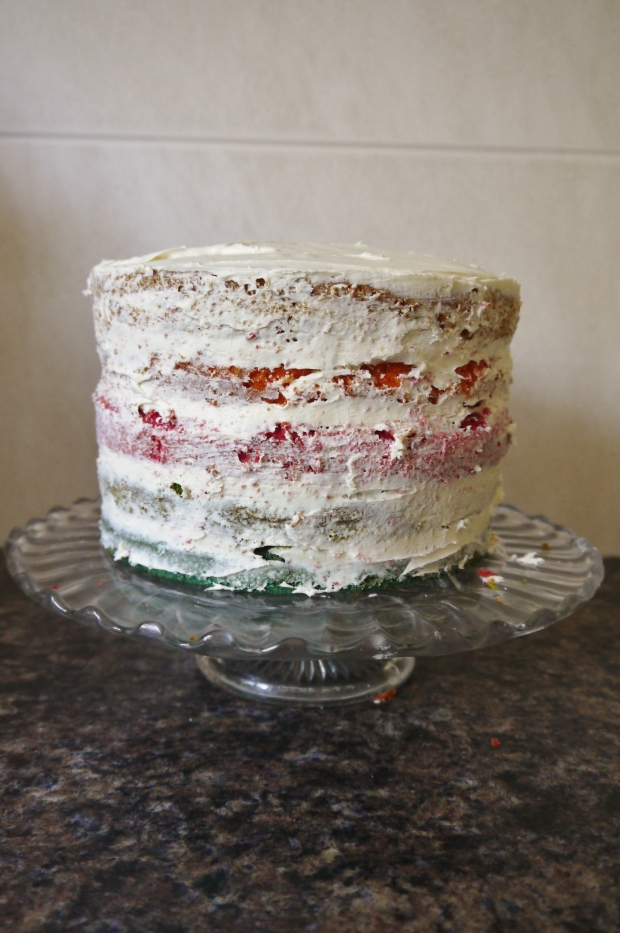
Once your cake is baked and chilled, fill each layer with buttercream and stack together. Crumb coat the cake lightly using the same buttercream and put into the fridge for at least an hour so the icing can firm. Note: Crumb coating doesn’t need to be perfect but it’s essential for creating a crumb-free cake at the end.

P1100533

Fit your 104 petal tip onto a piping bag and fill about ½ full with icing. Ensure you twist the end and squeeze out any air bubbles before starting.

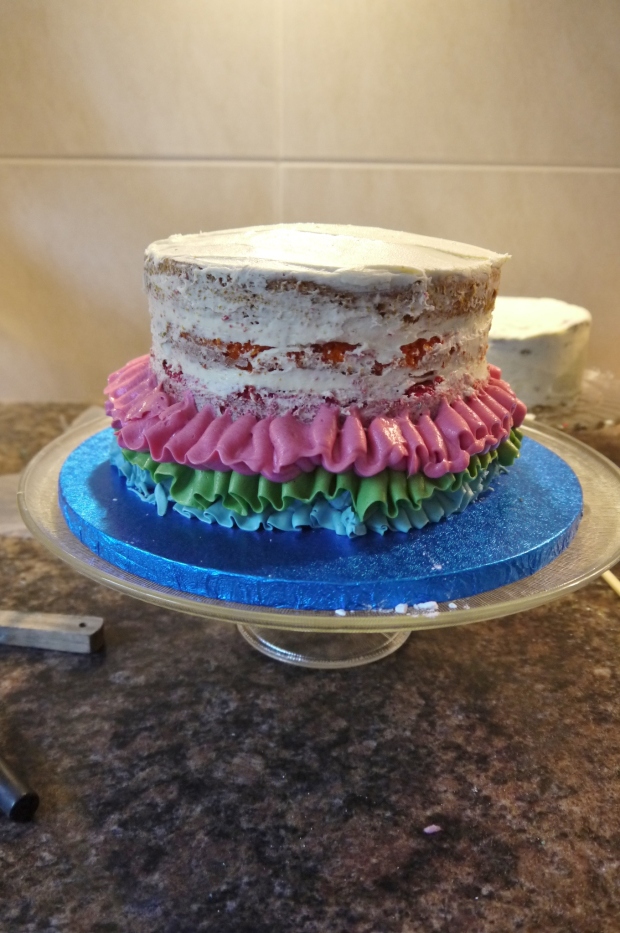
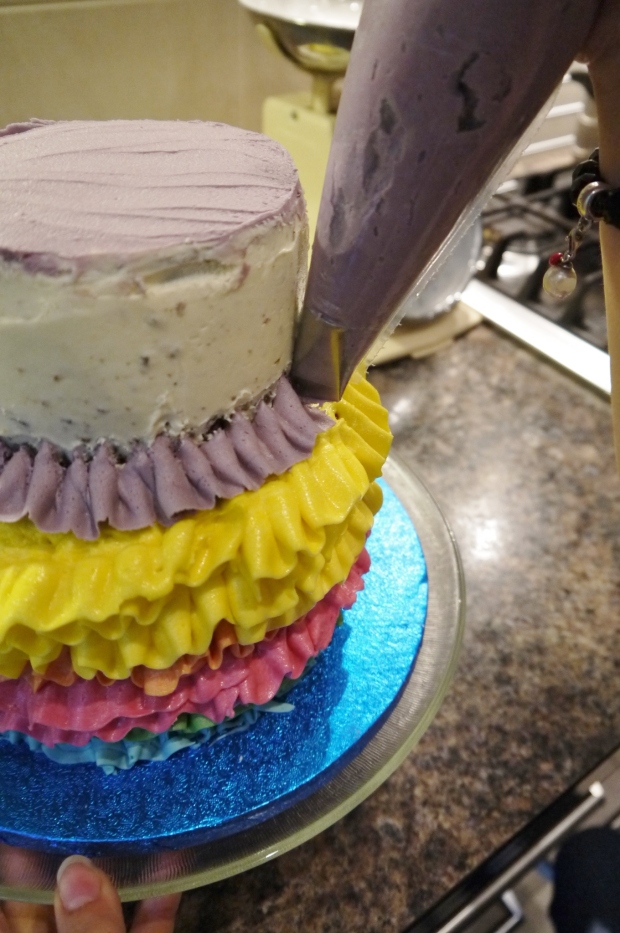
Starting from the bottom of the cake, hold the decorating bag at a downward 90° angle (12:00) with the wide end of the tip lightly touching the cake and the narrow end facing you.

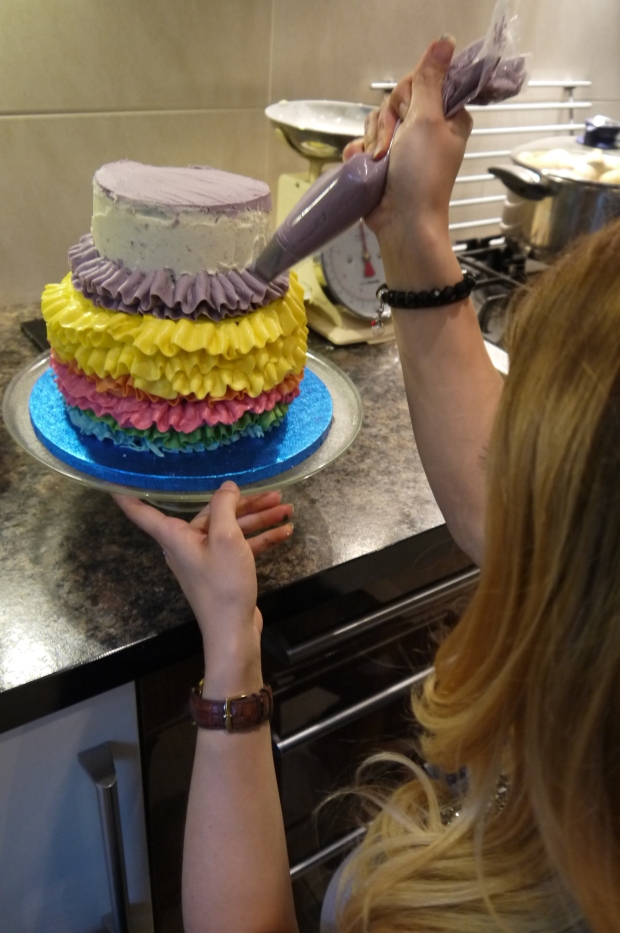
Gently begin to squeeze the icing out keeping the wide end of the tip against the cake as you move your wrist up and down in a “wave” motion. Repeat this motion around the whole cake.

Note: For tight ruffles you need to move your wrist quickly. For a looser effect, move slowly across the surface. You can practice the technique on a piece of baking parchment before you start.

P1100534

P1100535

P1100537

P1100542

If at any point you find the ruffle dropping use the cocktail stick to gently lift the ruffle back into place.

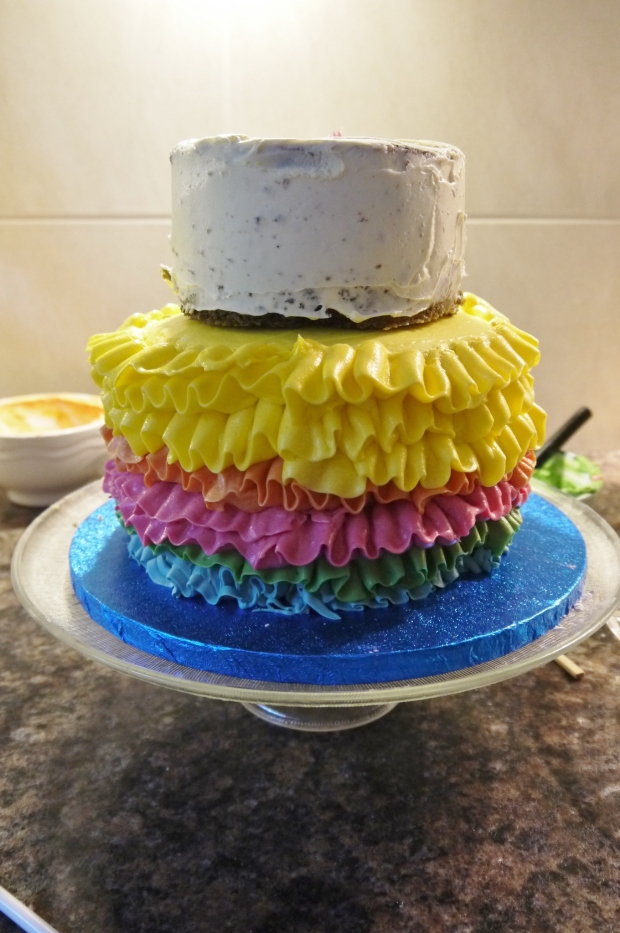
Continue this same technique for the whole cake, changing colours if and when required.

I hope this guide helps you create your ruffle design. If you do follow these steps I would love to know how yours turned out.

Happy Decorating!
6-Layer Rainbow Birthday Cake

P1100579

P1100568

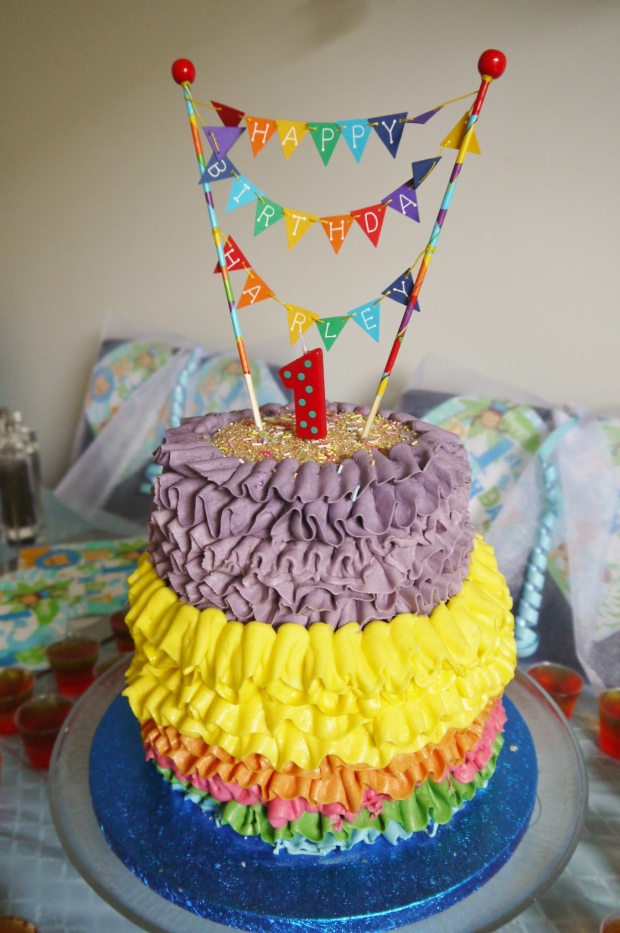
Of all my birthdays the one’s that stand out the most are those from my youth. Back then a birthday was synonymous with presents, party games and cake, and it was the cake that always left me with a lasting memory. It will come as no surprise therefore that when I was asked to make my Nephews first birthday cake, the one thing it had to have, was the WOW factor.

Birthdays are a time for celebrating, and with its Rainbow theme this particular party was also about celebrating colour. Ordinarily I would take the requests from the birthday boy or girl but my nephew’s vocabulary is currently limited to quack quack, dog, clock and mummum so this year the theme request came directly from my sister.

I’ve been itching to make a rainbow cake for a while now so this theme was warmly welcomed. It was then up to me to decide the design which after several weeks of deliberating and Pinterest research was finally decided upon. Being a perfectionist at heart meant that I put a lot of pressure on myself to make this cake perfect. The layers of sponge had to be equal, the colours the perfect shade, and the chosen ruffle icing HAD to be just right.

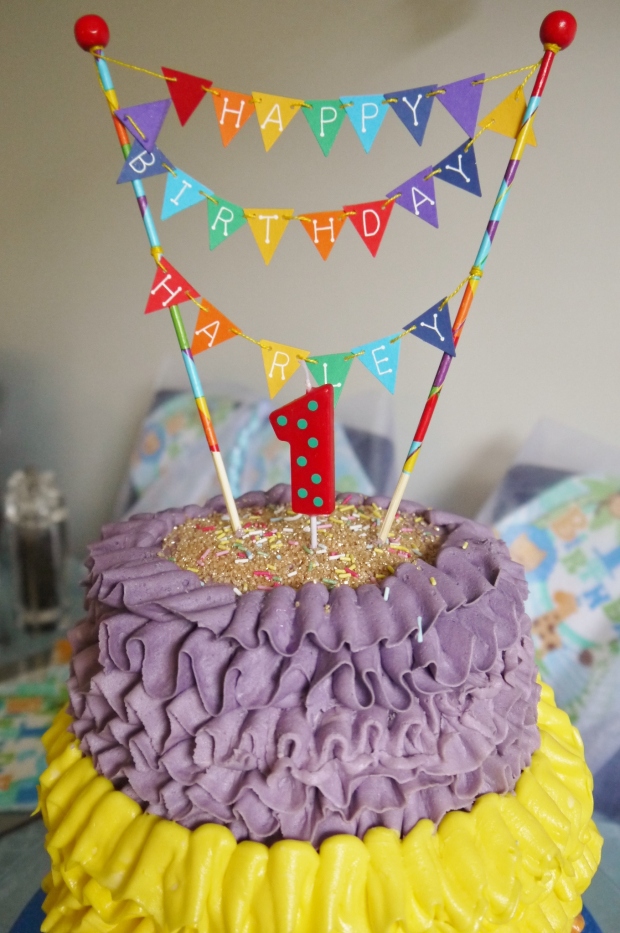
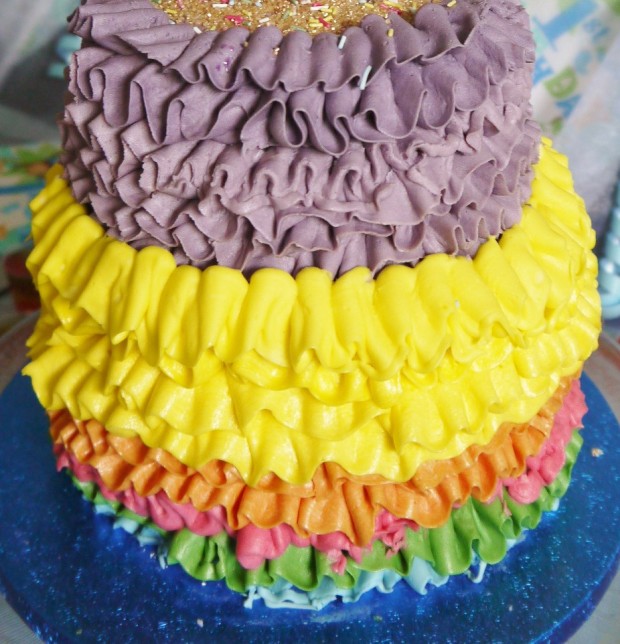
Oh god the Ruffle Icing! Typically I added to the pressure by choosing an icing technique completely new to me, so when the time came I spent the first 10 minutes trying to figure which angle the piping bag needed to be. Once I’d gotten the hang of the angle it was simply a matter of perfecting ‘The Running Dog’ technique which takes a lot of speed and patience. If you’d like to read more about this technique, a dedicated post will be published shortly. The recipe below is for the two-tiered, 6-layered rainbow cake.

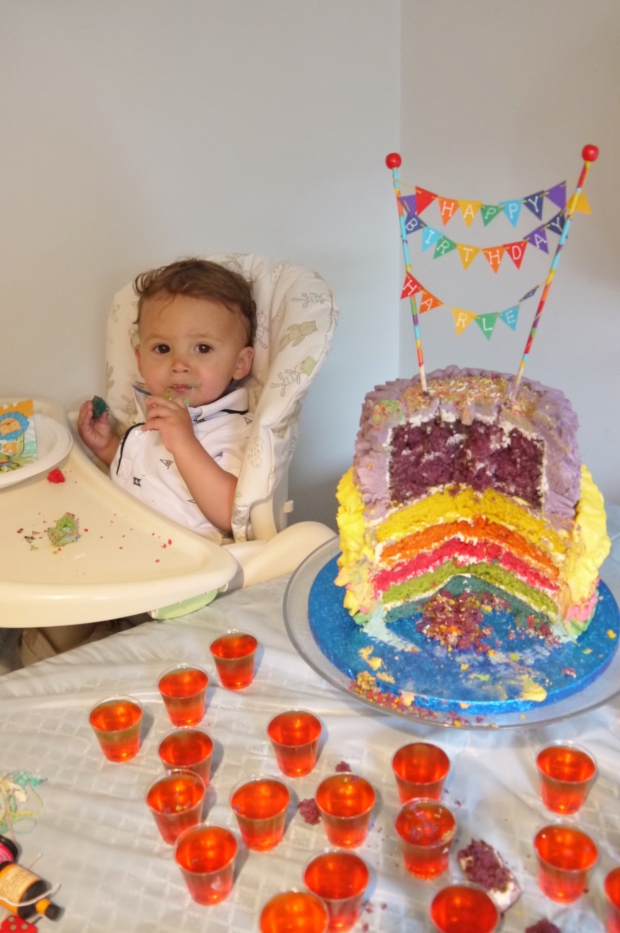
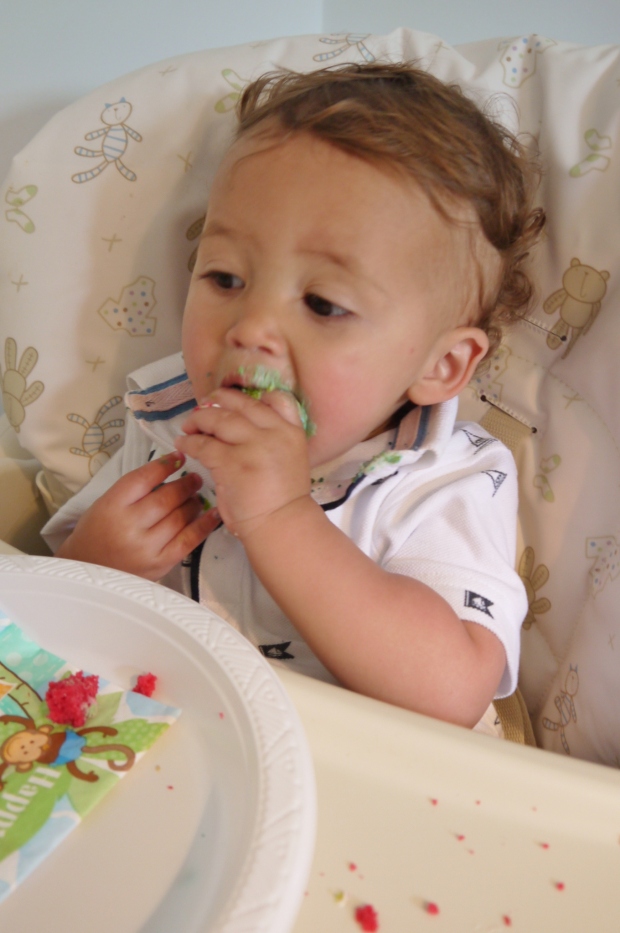
For a first attempt I couldn’t have been happier with how this cake turned out, and it was an honour to have played a small part of my Nephew’s special day. It may have rained from start to finish, but the colours of the rainbow and the gorgeous birthday boy certainly managed to brighten things up!

Happy Birthday Harley-Bear – Lots of Love Auntie A!

P1100662

Split the sponge mixture equally between 5 bowls and colour to your preferred strength

Split the sponge mixture equally between 5 bowls and colour to your preferred strength

P1100529

P1100666

P1100598

Aftermath

Aftermath


 Easy 6-layered, two-tiered rainbow cake

Makes a 5-layered Rainbow Cake using 6 inch tins and one 5”x3” cake (top tier)

Preparation: 3 hours

Baking time: 30 minutes


400g self raising flour

400g soft soft butter

400g caster or light brown caster sugar

6 large free range eggs

1 tablespoon vanilla extract

1tsp baking powder

Colour Pastes

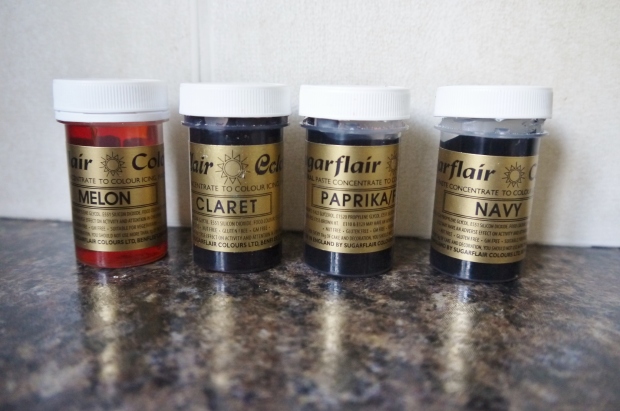
(I used Sugarflair Paste: Navy, Melon, Claret and Paprika to create all 6 colours)


To start, preheat your oven to 170 degrees/360F/Gas Mark 4 and create your cake batter in your preferred way.

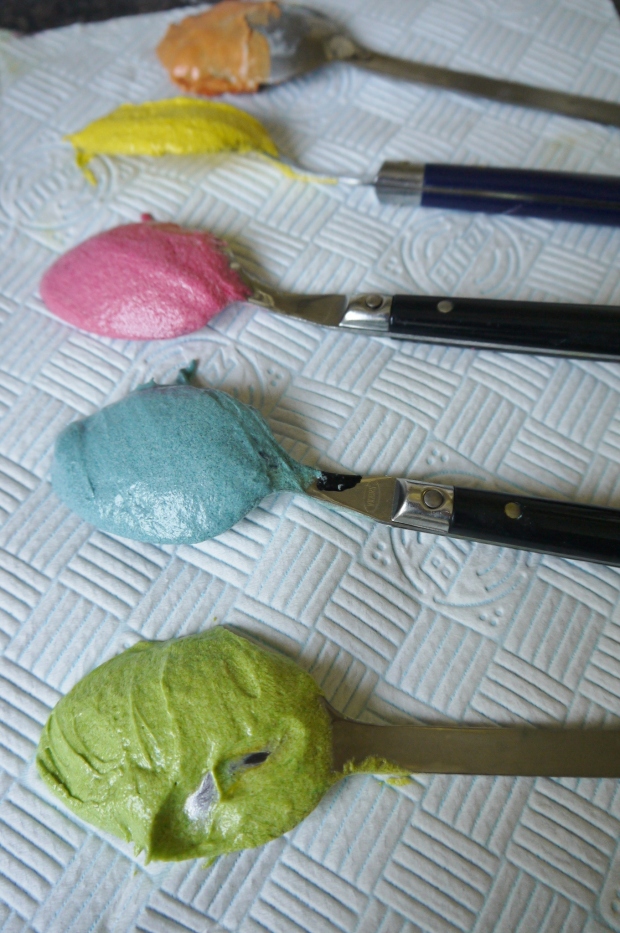
Next, divide your mixture equally between 6 bowls to create your rainbow colours. I divided mine by eye using a tablespoon at a time as a measure and gave my top tier bowl 2 tablespoons more.

As mentioned I used Sugarflair pastes and used Navy for my blue layer, Melon for yellow, Claret for pink, Navy and Melon to create green, Paprika and Melon to create orange, and Navy and Claret to create purple. Tip: use a little paste at a time and build the colour up to avoid going to dark.

Grease your cake tins before pouring the mixture in then bake in the oven for around 15 minutes. The top tier pan will need 20-25 as it is a thicker pan, however do ensure to keep your eyes on it. When a skewer comes out clean you know the cakes are cooked.

Leave your cakes to cool fully before icing, preferably wrap them in cling film and pop them into the fridge for a few hours as this makes them easier to decorate. To prepare for decoration, ice your 5 layers together with buttercream, then crumb coat this and your small top tier with a thin layer of buttercream all the way round. Put both cakes back in the fridge for another hour or two to set.


Personalised cake bunting – Etsy

Top Tier 5″x3″ cake pan – Lakeland

Sugarflair Rainbow Colour Set – Amazon

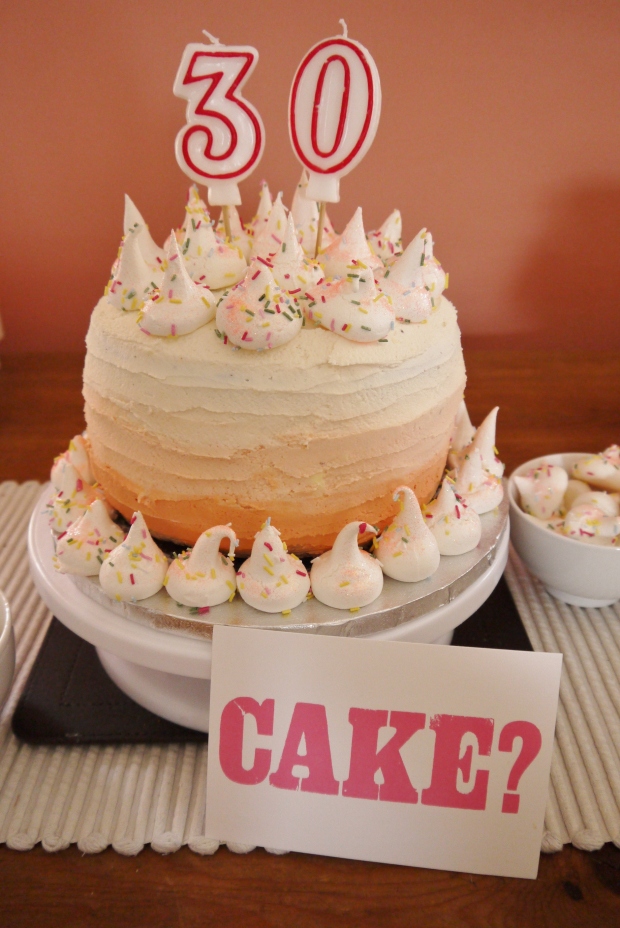
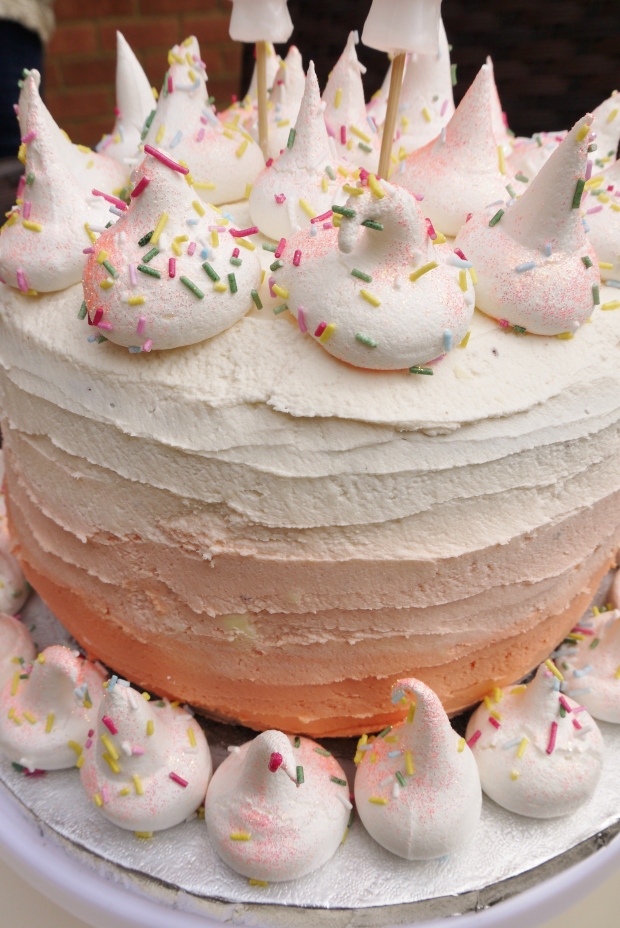
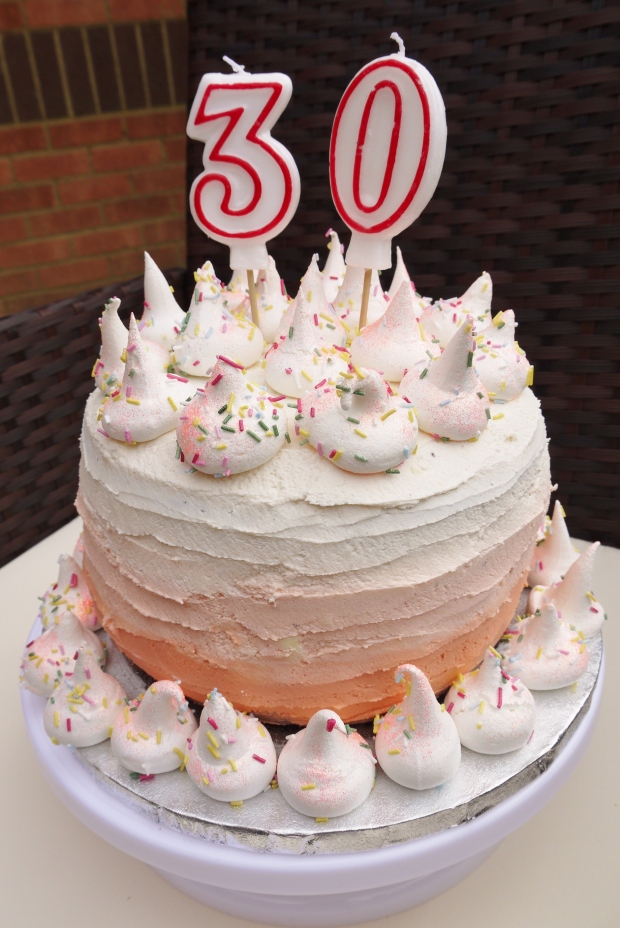
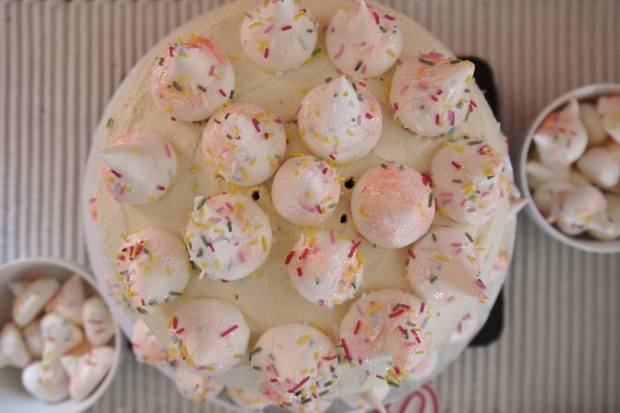
Orange Ombre Birthday Cake with Mini Glitter Meringues

P1100261

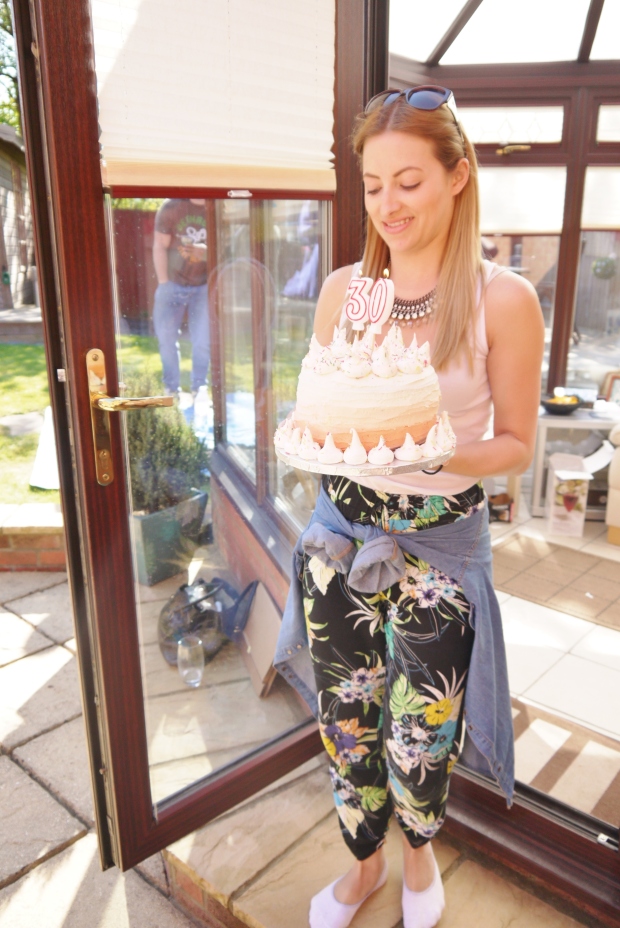
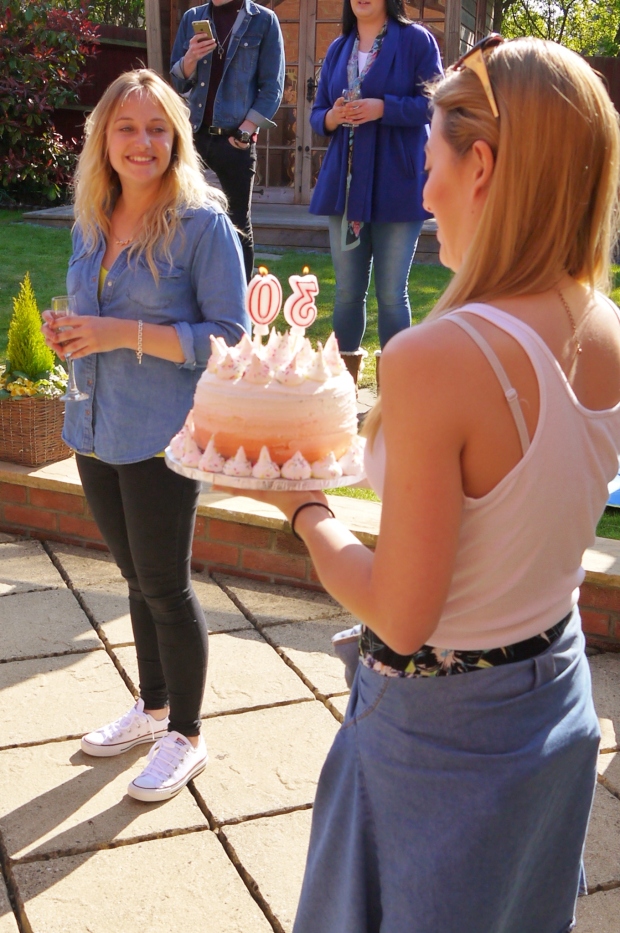
It’s not every day your big sister turns 30. A rather significant milestone nowadays too as the prolonged adolescence of our 20s has meant that 30 is now defined as the age we pass into adulthood. The glory days of late nights and “questionable” behaviour are now a distant memory, yet some do say that your 30s are the even better years before the dreaded 40 hits (but those guys had probably just turned 30 or were approaching 40).

In honour of my sister and this special milestone, as the baker of the family it was only fair that I whipped something fancy for her party. If I had to describe her in two words, colourful and pretty are possibly the first that would enter my mind. Loud and crazy would be there too but I can’t exactly create a cake to match those descriptions so colourful and pretty it was.

Happy 30th Birthday Loopy Lou, let the dirty 30’s begin!!

P1100280

P1100180

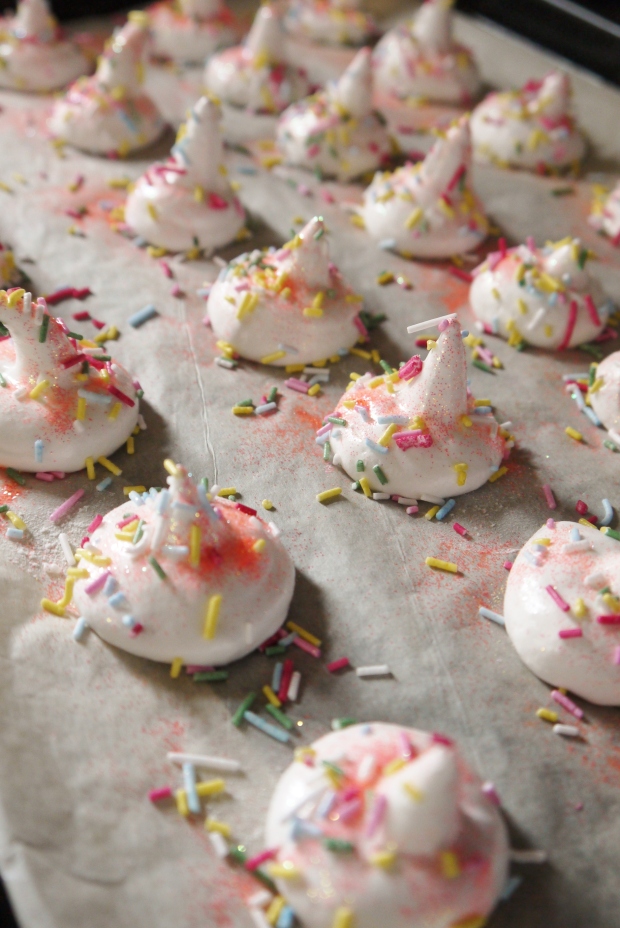
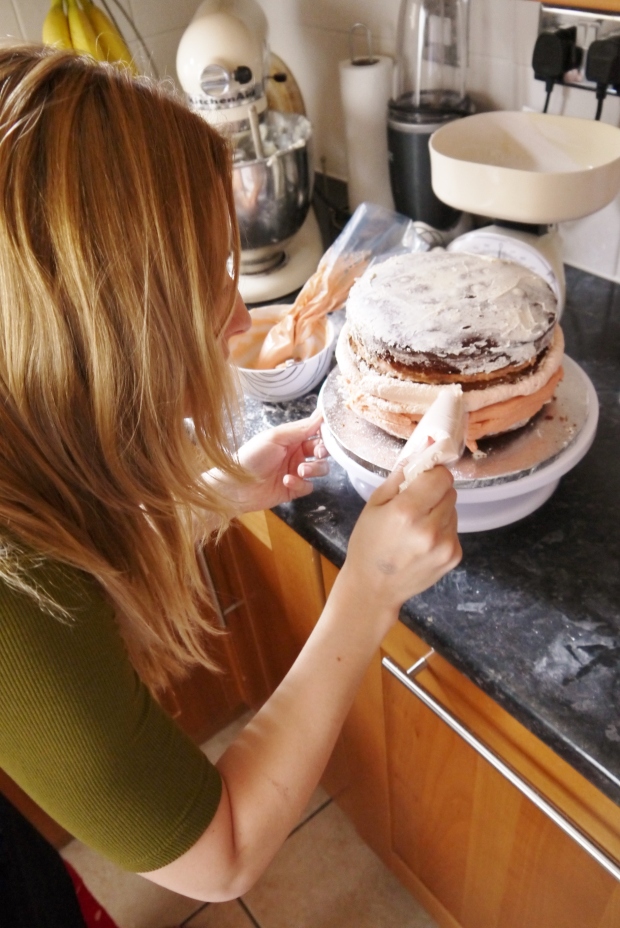
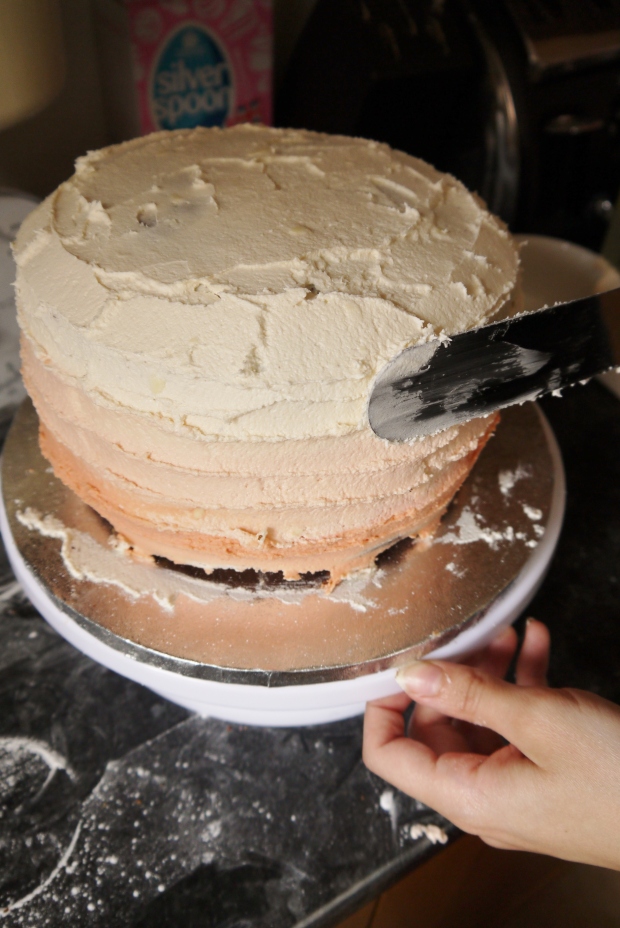
The meringues were the best part of making this. Not only are they easy to make, but the mixture is so incredible I literally had to tear my tongue away from the bowl. My teeth didn’t agree though as a mouthful of sugar isn’t quite what they were expecting for breakfast that morning. One batch of mixture made 50 mini meringue peaks so there was also plenty left after decorations for guests at her party to snack on. I’m sharing the recipe below for the three tiered chocolate orange cake and the mini meringue peaks below. For tips on how to create this orange ombre icing you will find the recipe and guide on my Pink Ombre Birthday Cake post. I use Sugarflair Paprika/Flesh paste to create the coral tone.

P1100275

P1100258

P1100188

P1100203

P1100281

P1100287


Chocolate Orange Layer Cake

Makes three 20cm diameter cakes

Preparation time: 1 hour

Baking time: 25 minutes


450g Caster Sugar

450g Unsalted butter

5 Eggs

450g Self-Raising flour

1tsp Baking Powder

100g Coco Powder

Zest and Juice of an Orange


Preheat the oven to 190C/370F

Cream together the butter and sugar together until smooth and fluffy then slowly add the eggs. If the mixture starts to curdle add a tablespoon of flour.

Mix the flour, baking powder and coco powder together and slowly begin adding to the wet mixture a tablespoon at a time.

When the mixture is smooth, throw in the orange zest and juice and mix until fully combined.

Split equally between three 20cm Diameter cake tins, smooth the tops and bake for 25 minutes, or until a skewer comes out clean.

Leave to cool fully before icing.


For the Mini Glitter Meringue Peaks

Makes 50

Preparation time: 20-30 minutes

Baking time: 30 minutes


4 Egg whites

304g Caster sugar

1 tsp Vanilla

Sprinkles and edible glitter


Preheat the oven to 90 C/200F

Using a KitchenAid or any other standing mixer fitted with a whisk attachment; begin by slowly whipping your egg whites. When big bubbles start to foam, increase the speed to medium-high.

When the mixture turns really white with the bubbles much smaller, slowly add the sugar in a spoonful at a time with the mixer still going and leave for 5 minutes.

Check the meringue is ready by rubbing some of the mixture between your fingers. If you can still feel grains of sugar then you need to continue mixing for a couple of minutes. Keep going until you can’t feel them anymore (or can’t feel as many).

You will now have a beautiful glossy, cloud like mixture which tastes AMAZING. If you’re able to tear yourself away from eating it all you can now begin piping.

Sit a piping bag into a tall glass and fill it with as much mixture as you can. I had to go back three times so ended up with three batches in the oven.

Line a baking sheet with baking parchment and start piping your meringue peaks by slowly squeezing out the mixture then quickly lifting the bag to create the peak.

Cover them in sprinkles and edible glitter then bake your peaks a tray at a time for 30 minutes. Check after 25 and if they can be easily lifted from the baking sheet then they’re ready.